Connecting Bitbucket to Claude and ChatGPT
Last updated: November 3, 2026
Connect through Atlassian MCP (Claude or ChatGPT)
Bitbucket Cloud now works with Claude and ChatGPT through the Atlassian Rovo MCP server. You do not need a local clone for supported connector operations. Use the local Git workflow below when you need a full development environment, local tests, or a fallback.
Before you connect
Use an Atlassian account with access to the intended Bitbucket Cloud workspace and repository.
The Bitbucket workspace must be linked to an Atlassian organization.
Your organization must allow the connector and the required Bitbucket permissions. Read and write access are separate; connecting does not grant extra repository permissions.
These instructions cover Bitbucket Cloud, not Bitbucket Data Center.
The connector can read repository files, pull requests and pipeline results. With write permissions, it can create branches, commits and pull requests, and run pipelines. Available tools depend on your client, authorization and administrator settings. Check the current Atlassian tool catalog rather than assuming every connection has every action.
Claude and Cowork
Open Customize → Connectors, select +, and find Atlassian.
Review its capabilities and select Connect or Install.
Complete Atlassian sign-in and review the requested permissions. On managed plans, an owner may need to enable the connector first.
Enable Atlassian for the conversation if needed, then run the read-only check below.
See Claude's connector setup guide for current interface details.
ChatGPT
Open Settings → Plugins and find the Atlassian plugin/app.
Select Install plugin if shown, then Connect or continue setup.
Sign in to the account with access to the repository and review the authorization request. Workspace approval may be required.
In a supported conversation, select Atlassian from + or mention it with @, then run the read-only check below.
Availability varies by plan, workspace and interface. See OpenAI's connected-app guide.
Claude Code
For a manual MCP connection, run this in your terminal:
claude mcp add --transport http atlassian https://mcp.atlassian.com/v2/mcpOpen Claude Code and run /mcp to complete authentication. Use the official Atlassian setup instructions if an existing configuration or organizational policy requires a different setup.
Verify access before making changes
Start with a read-only request:
Use Atlassian to list the Bitbucket repositories I can access in WORKSPACE. Read the README in REPOSITORY and summarize it. Do not change anything.
Then try a specific workflow:
Inspect pull request PR_NUMBER in WORKSPACE/REPOSITORY and summarize its changes and pipeline status. Do not approve or merge it.
For a change, first request a proposed diff and test plan. Review the exact repository, branch and changes before authorizing writes. A PR needs an existing source branch containing the changes. Ask for the PR link after creation; keep normal reviewer and merge checks in place. Never paste tokens, SSH private keys or other secrets into chat.
Local Git workflow: prerequisites
A Bitbucket repo, already cloned to a local folder
Claude Code installed (or Cowork, with that folder connected — see below)
Git installed and permission to read the repository (and push if you will submit changes).
A local clone is required for this workflow only, not for the connector workflow above.
One-time setup: connecting a local repo to Bitbucket
Open a new Claude Code chat in the folder where the code is stored locally on device.
In a terminal, replace WORKSPACE and REPOSITORY with your actual slugs and test remote read access:
git ls-remote https://x-bitbucket-api-token-auth@bitbucket.org/WORKSPACE/REPOSITORY.gitThis tests access and may prompt for authentication. It does not clone the repository or configure your local folder's remote. In the existing clone, run git remote -v to check that origin points to the intended repository. If you have not cloned it yet, use Bitbucket's Clone instructions first. Enter credentials yourself in the terminal, not in chat.
HTTPS authentication with an API token
For this HTTPS example, use a scoped Bitbucket API token, not your normal account or SSO password. An existing approved SSH setup is a separate alternative. Connector OAuth and local Git credentials are separate.
Go to Account Settings → Security → API Tokens → Create and manage API Tokens.
Click Create API token with scopes.
Give it a name (e.g. "Claude Code CLI") and set an expiration.
Select the app as Bitbucket.
Grant only the scopes needed:
read:repository:bitbucketfor cloning and reading.Add
write:repository:bitbucketif you will push changes.Pull-request scopes are not required for ordinary Git clone/push. Add them only for a separate REST API workflow that needs them.
Save it and copy the token immediately — it's only shown once. Store it in a password manager, not a shared doc.
When prompted for credentials (e.g. by the git ls-remote command above):
Username:
x-bitbucket-api-token-authPassword:
<YOUR-API-TOKEN>
Keep the token out of remote URLs, prompts, screenshots and committed files. See Atlassian's API-token guidance.
From here, Claude Code can work in the local folder, prepare changes on a feature branch and, with your approval and Git permissions, push that branch to origin.
Making a local change with Claude Code
Run these prompts in the project containing your local clone. Review the diff and run the relevant tests before pushing.
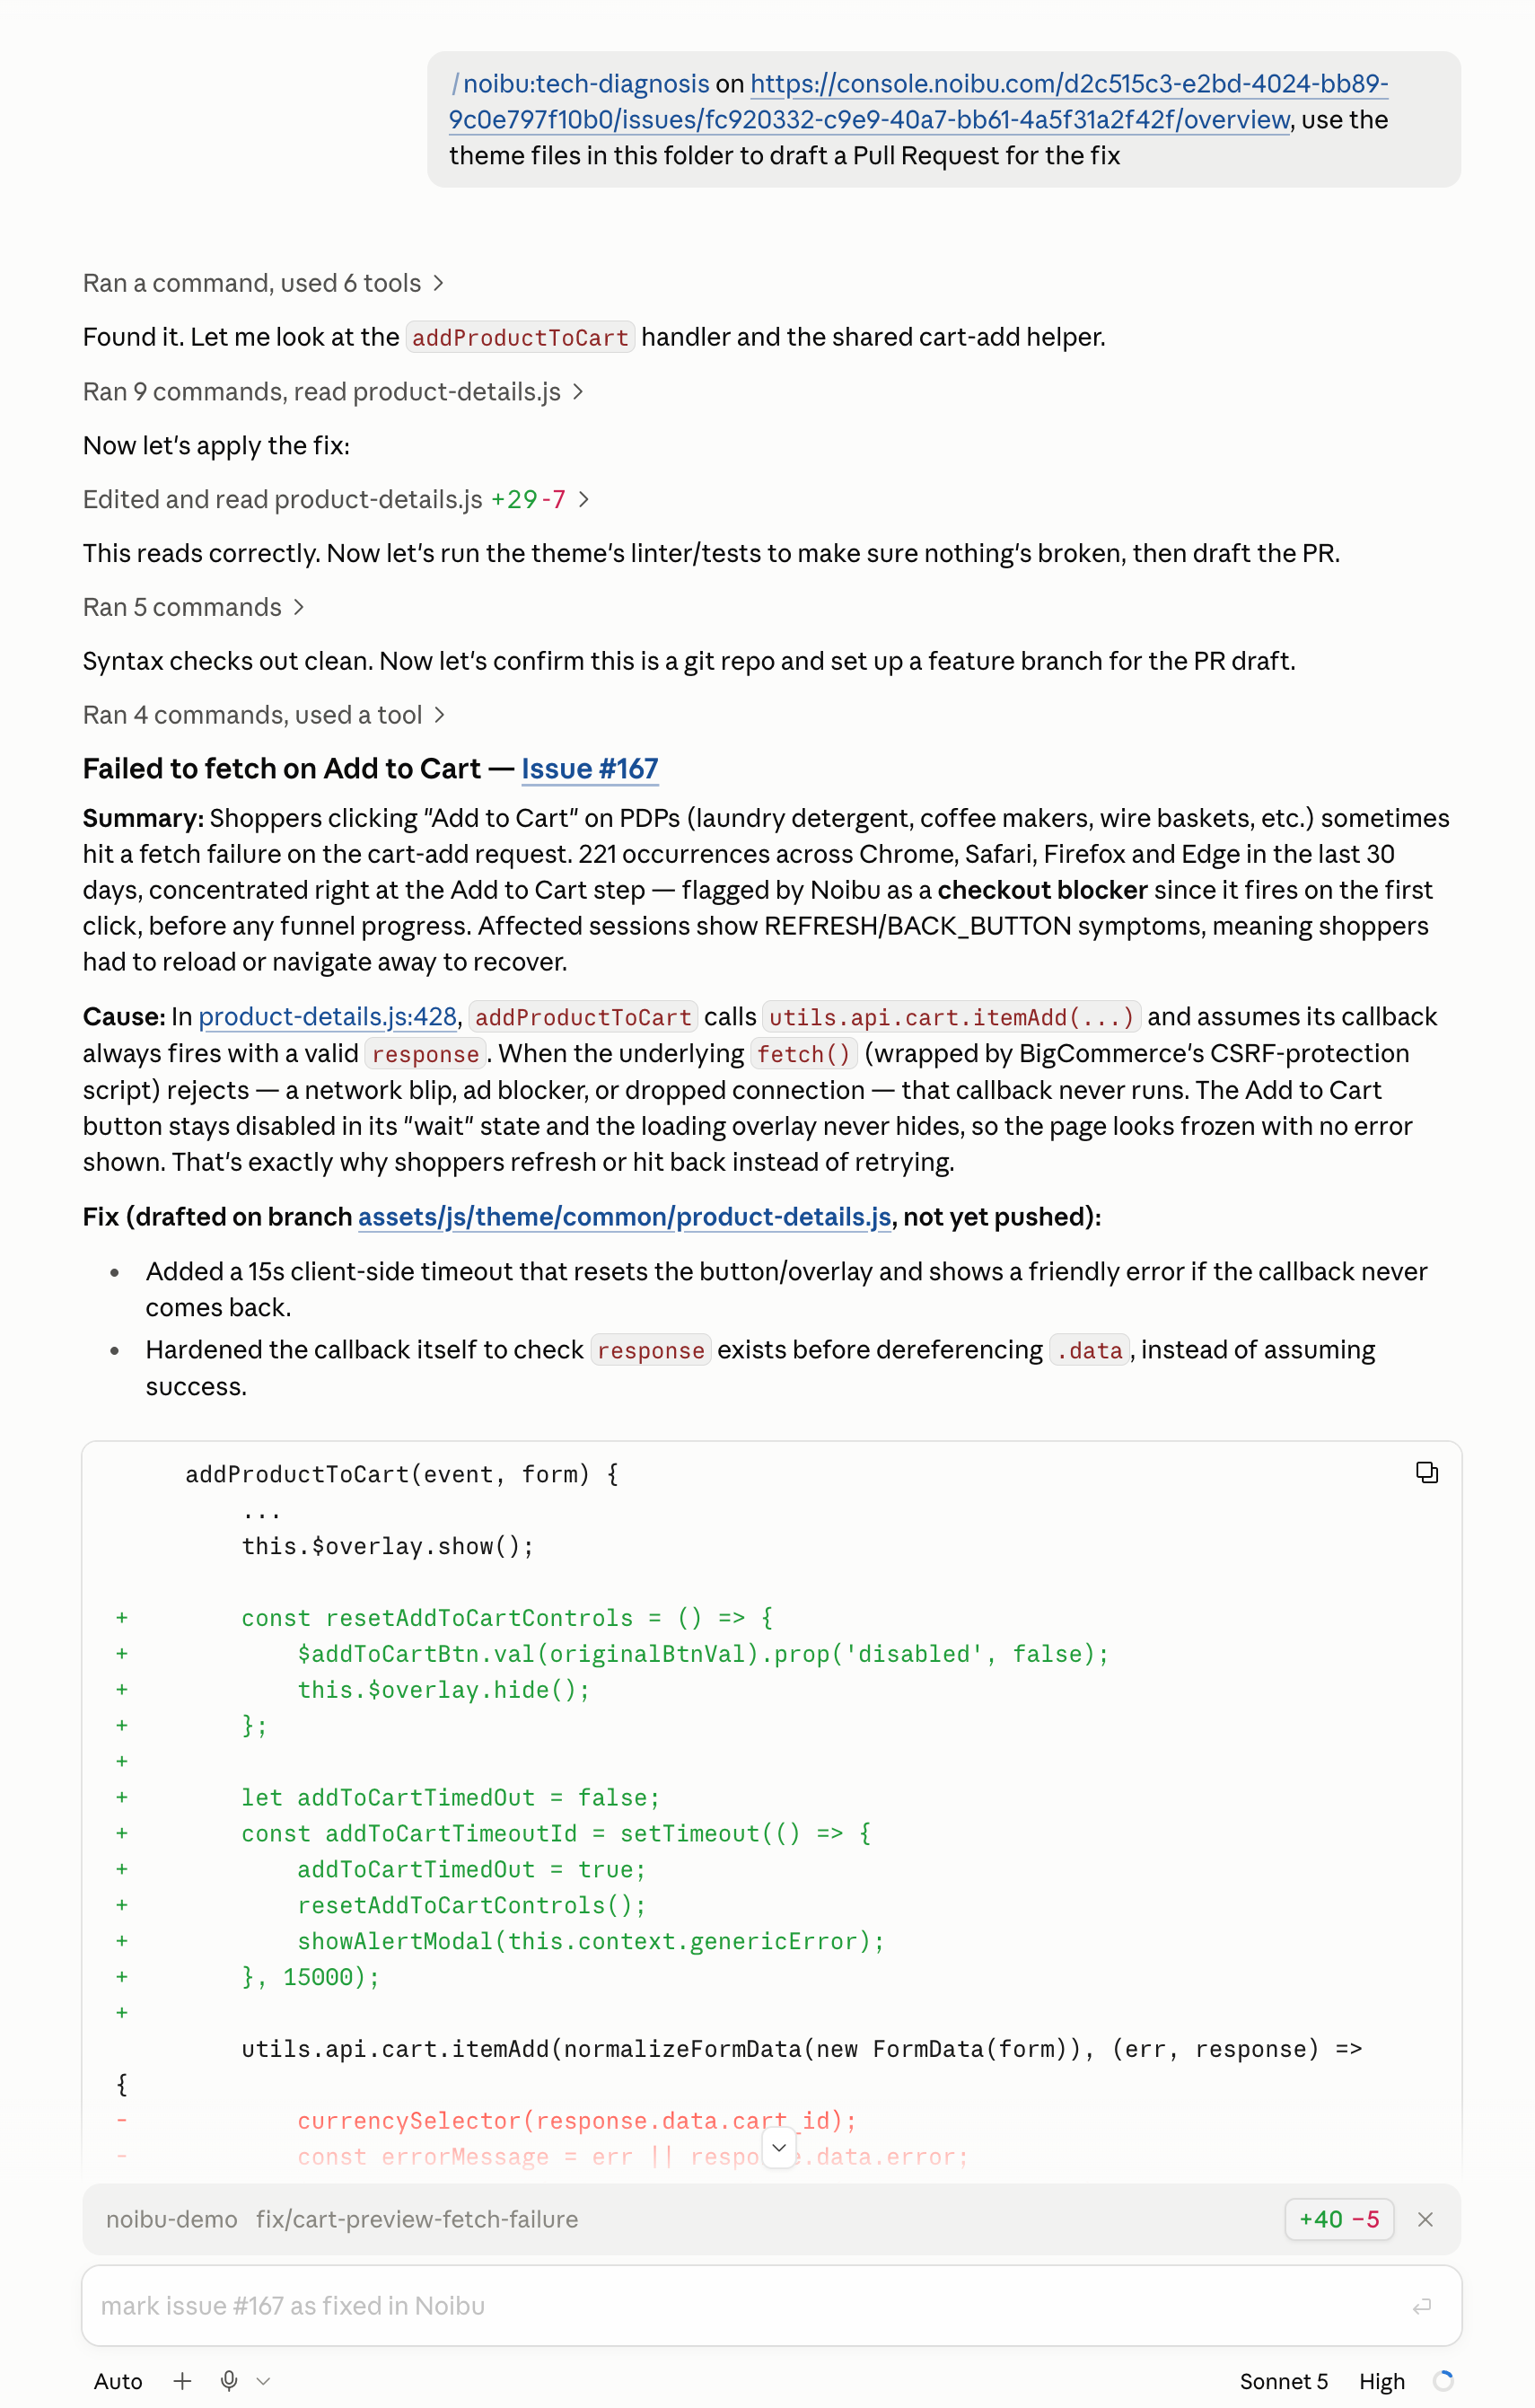
Ask Claude Code to make the change — it edits the files and can create/push a branch.
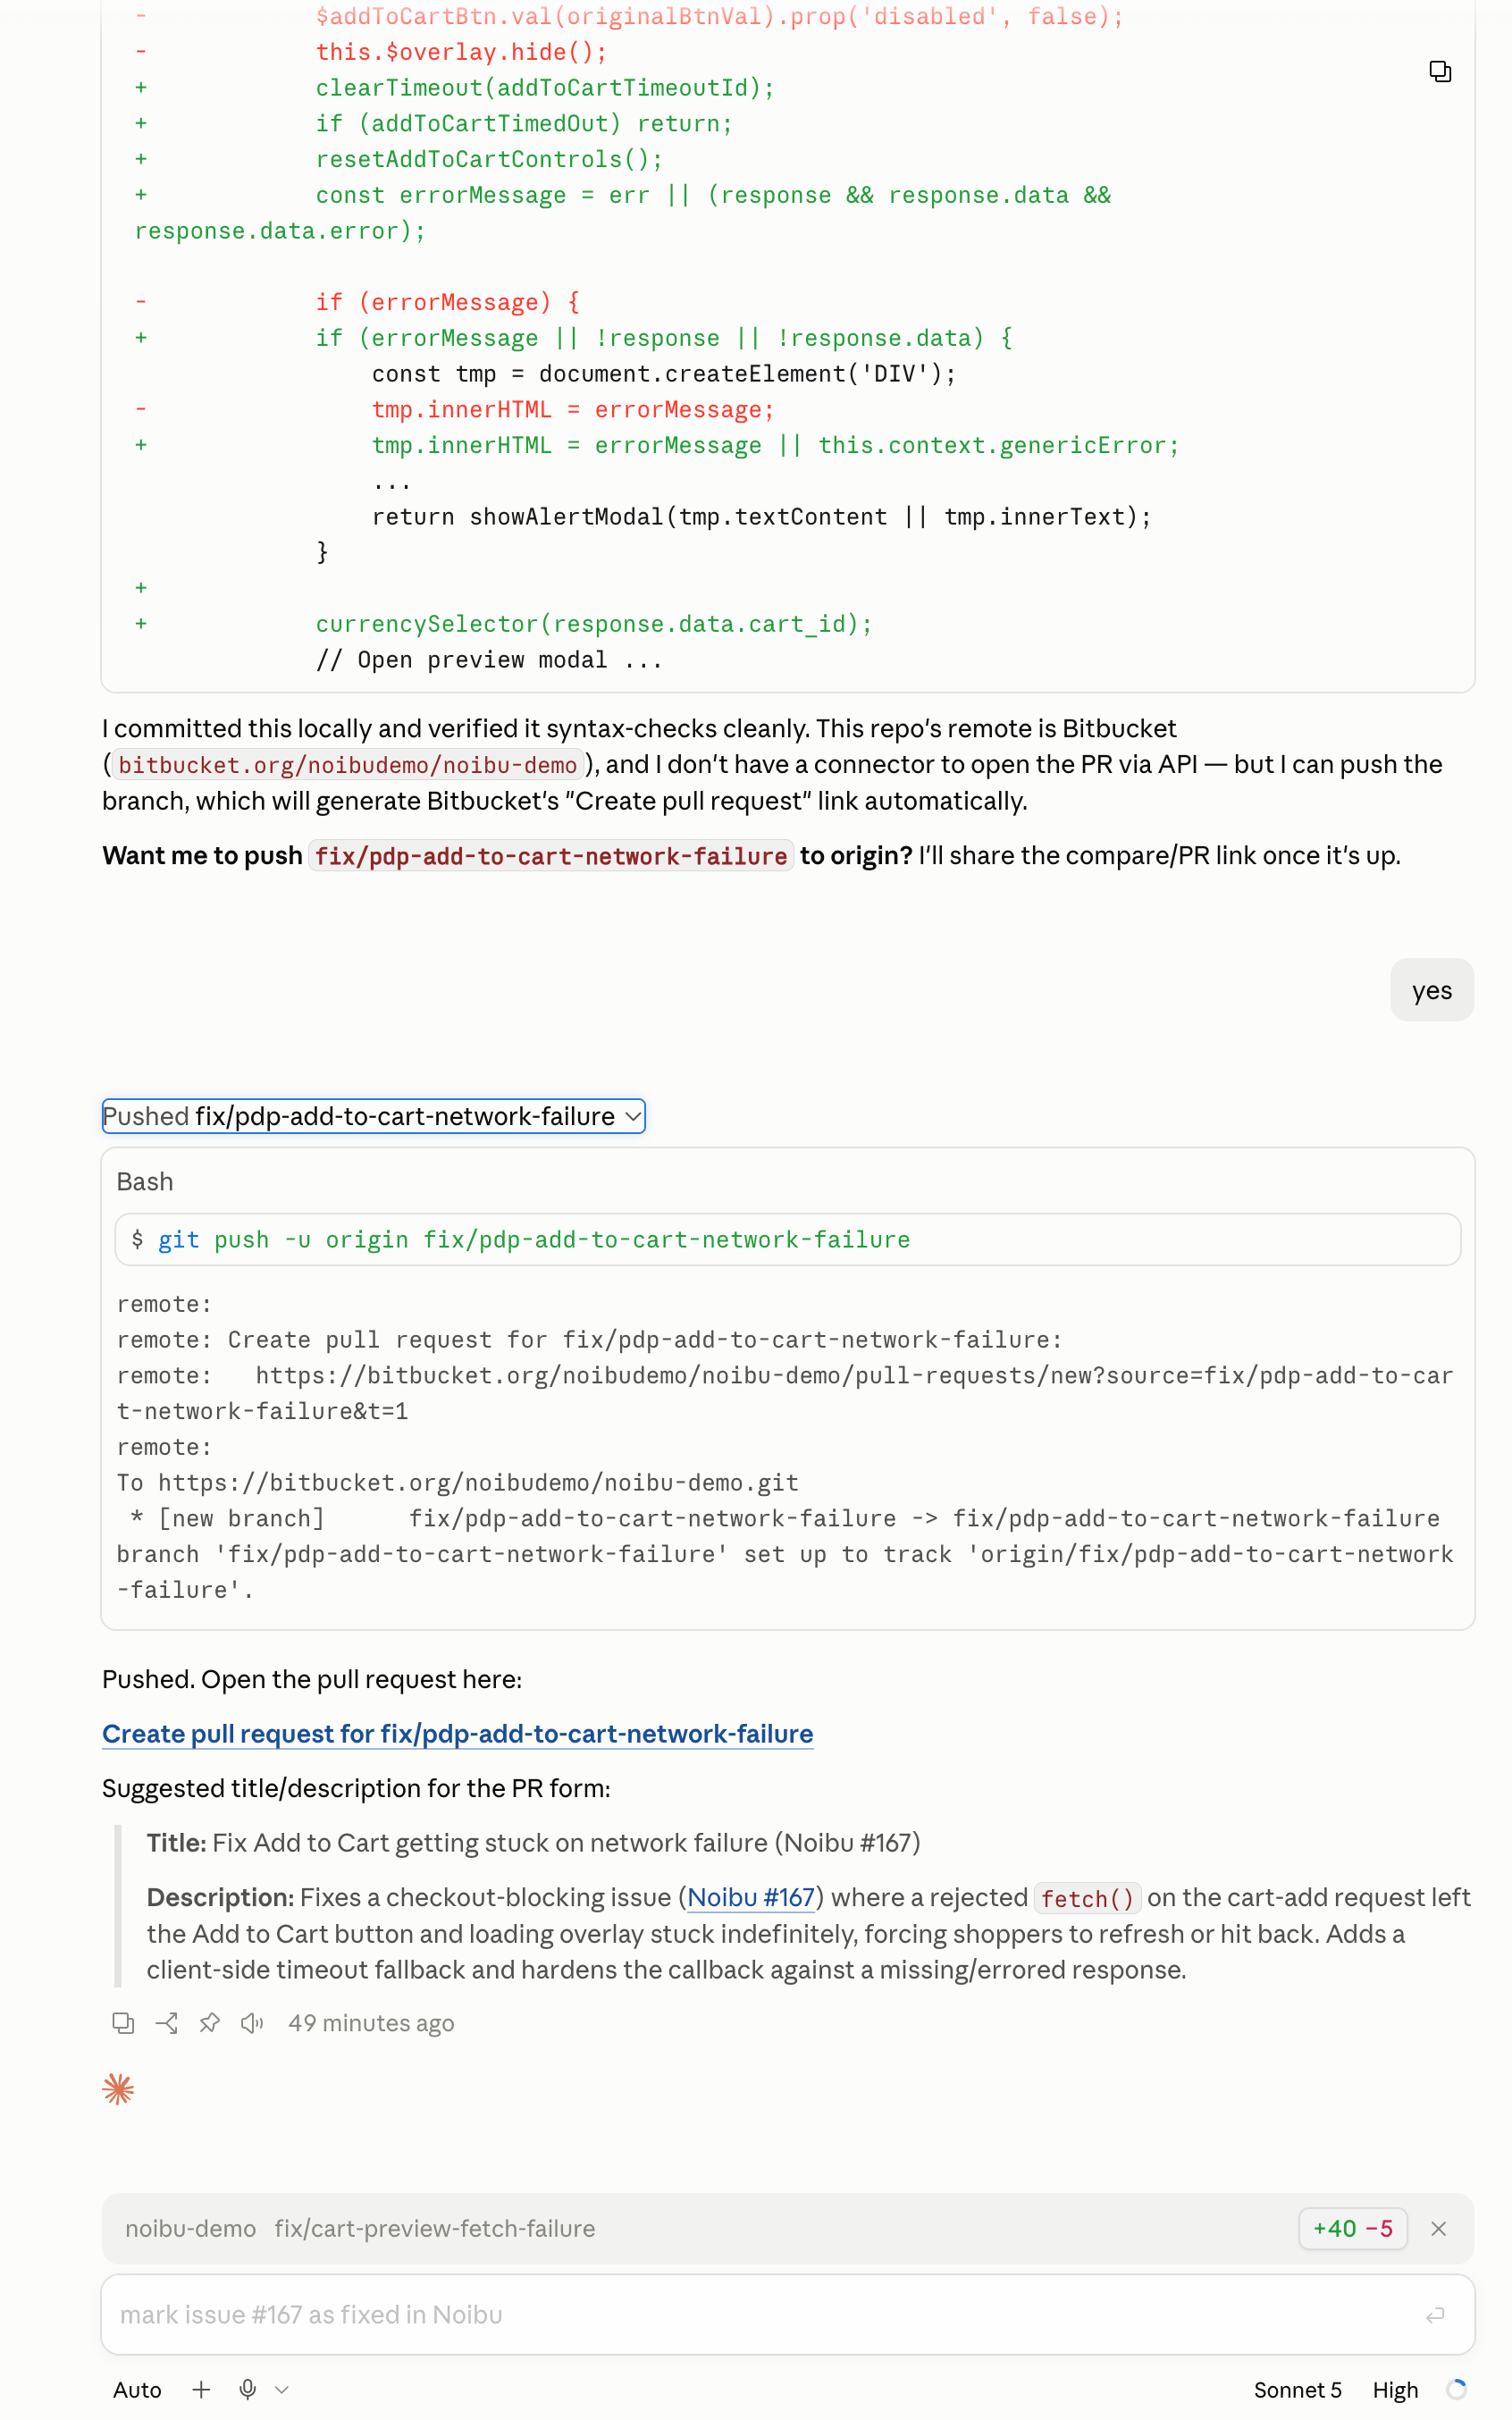
In the Bitbucket web UI, go to Branches, find your new branch, and click Create a pull request.
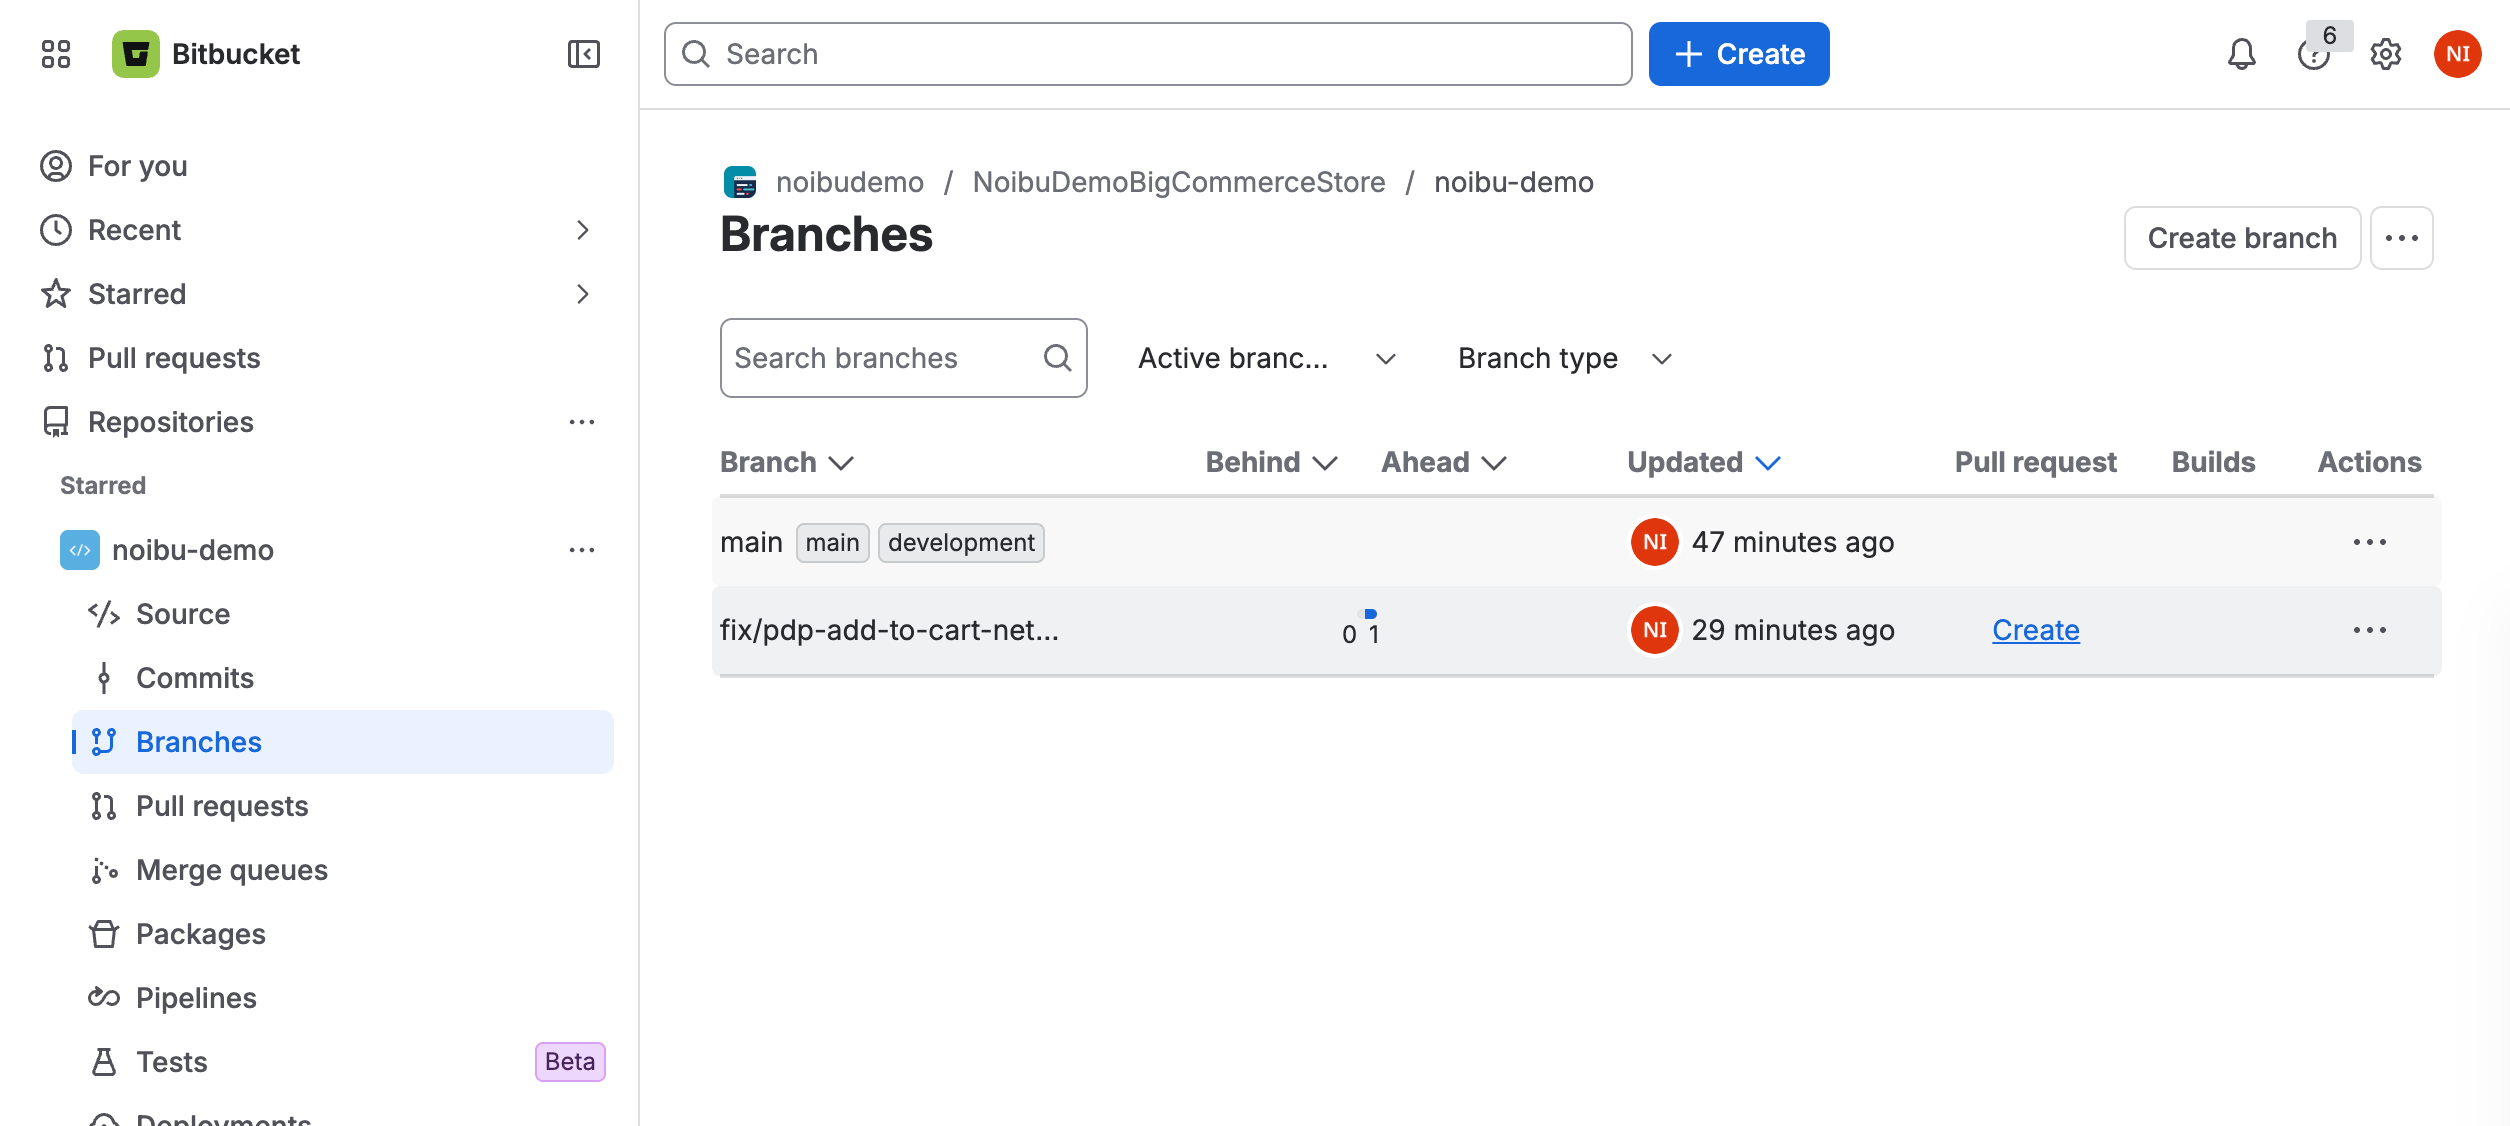
Review and merge as usual from there.
The web UI is one option, not a requirement. The Atlassian connector can create a PR when its Bitbucket write tools are available. Bitbucket also has a REST API for creating pull requests. Plain Git pushes commits; it does not create the Bitbucket PR itself.
Using this from Cowork instead
For connector-only work in Cowork, use the Atlassian setup above. For local file edits, retain this folder-based workflow; Git execution and authentication may need a terminal:
Prerequisite: the repo is already cloned locally and connected to Bitbucket (per the setup above).
In Cowork, start a task and choose the folder containing your repo. The screenshots below show the existing folder-based workflow; interface labels may vary.
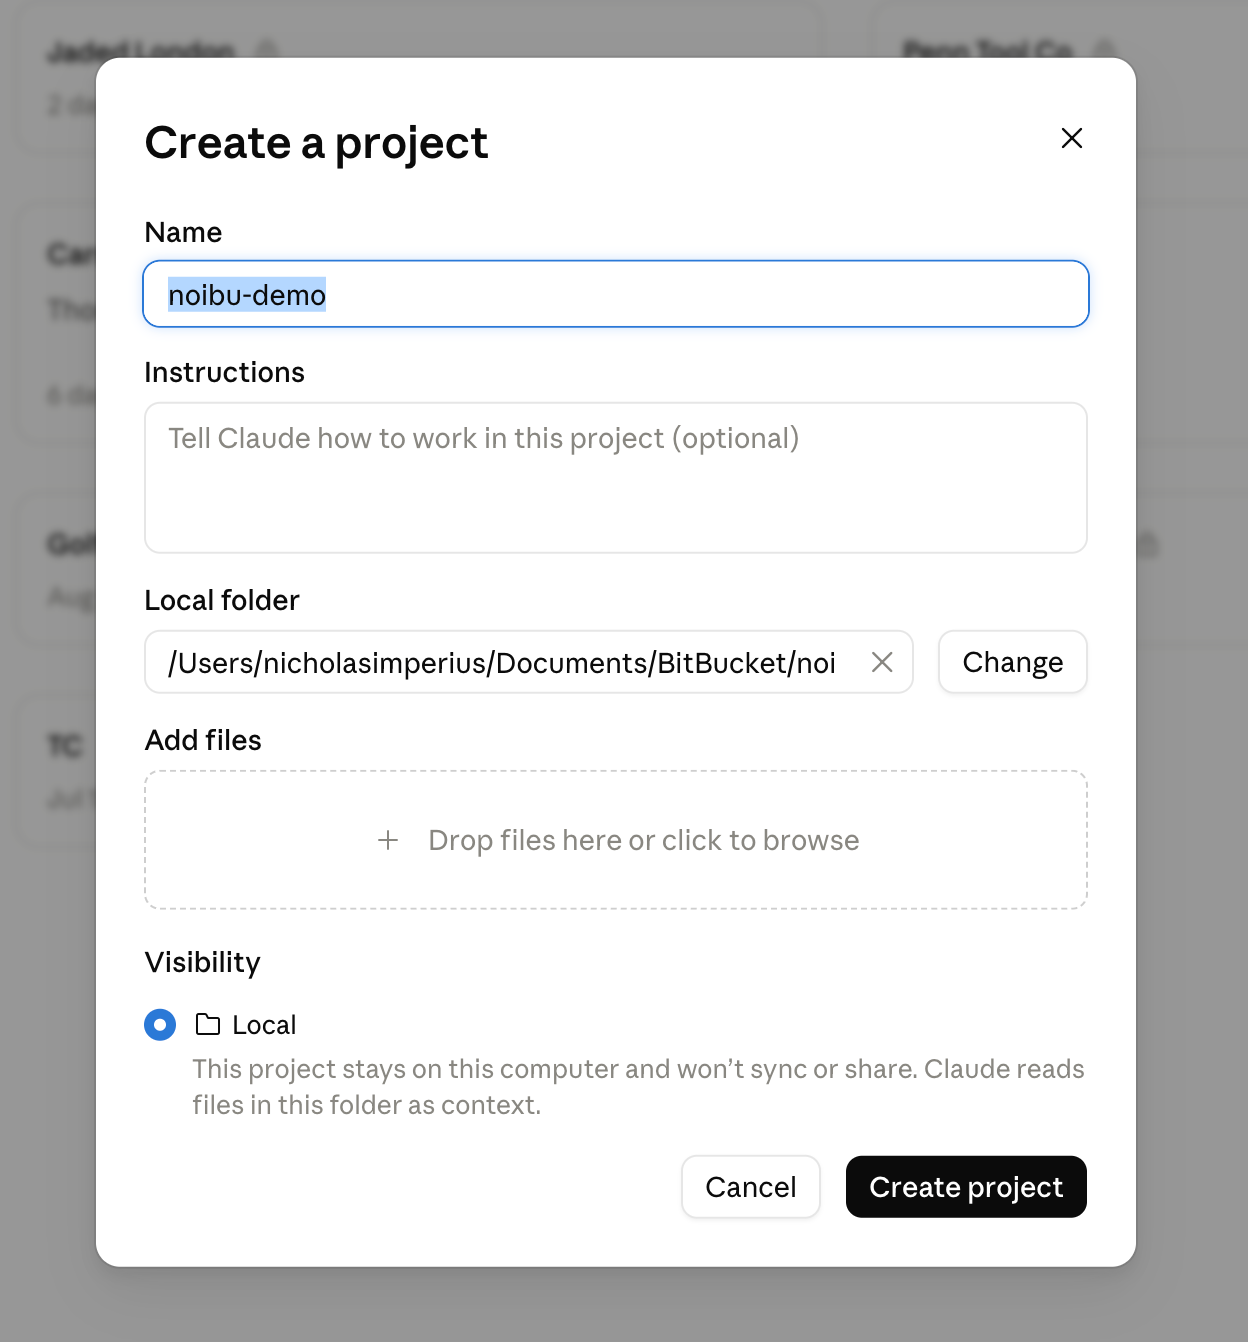
Allow Claude to modify files in that folder when prompted.
Ask Claude to make the change you want (e.g. running a diagnosis/fix skill against the repo).
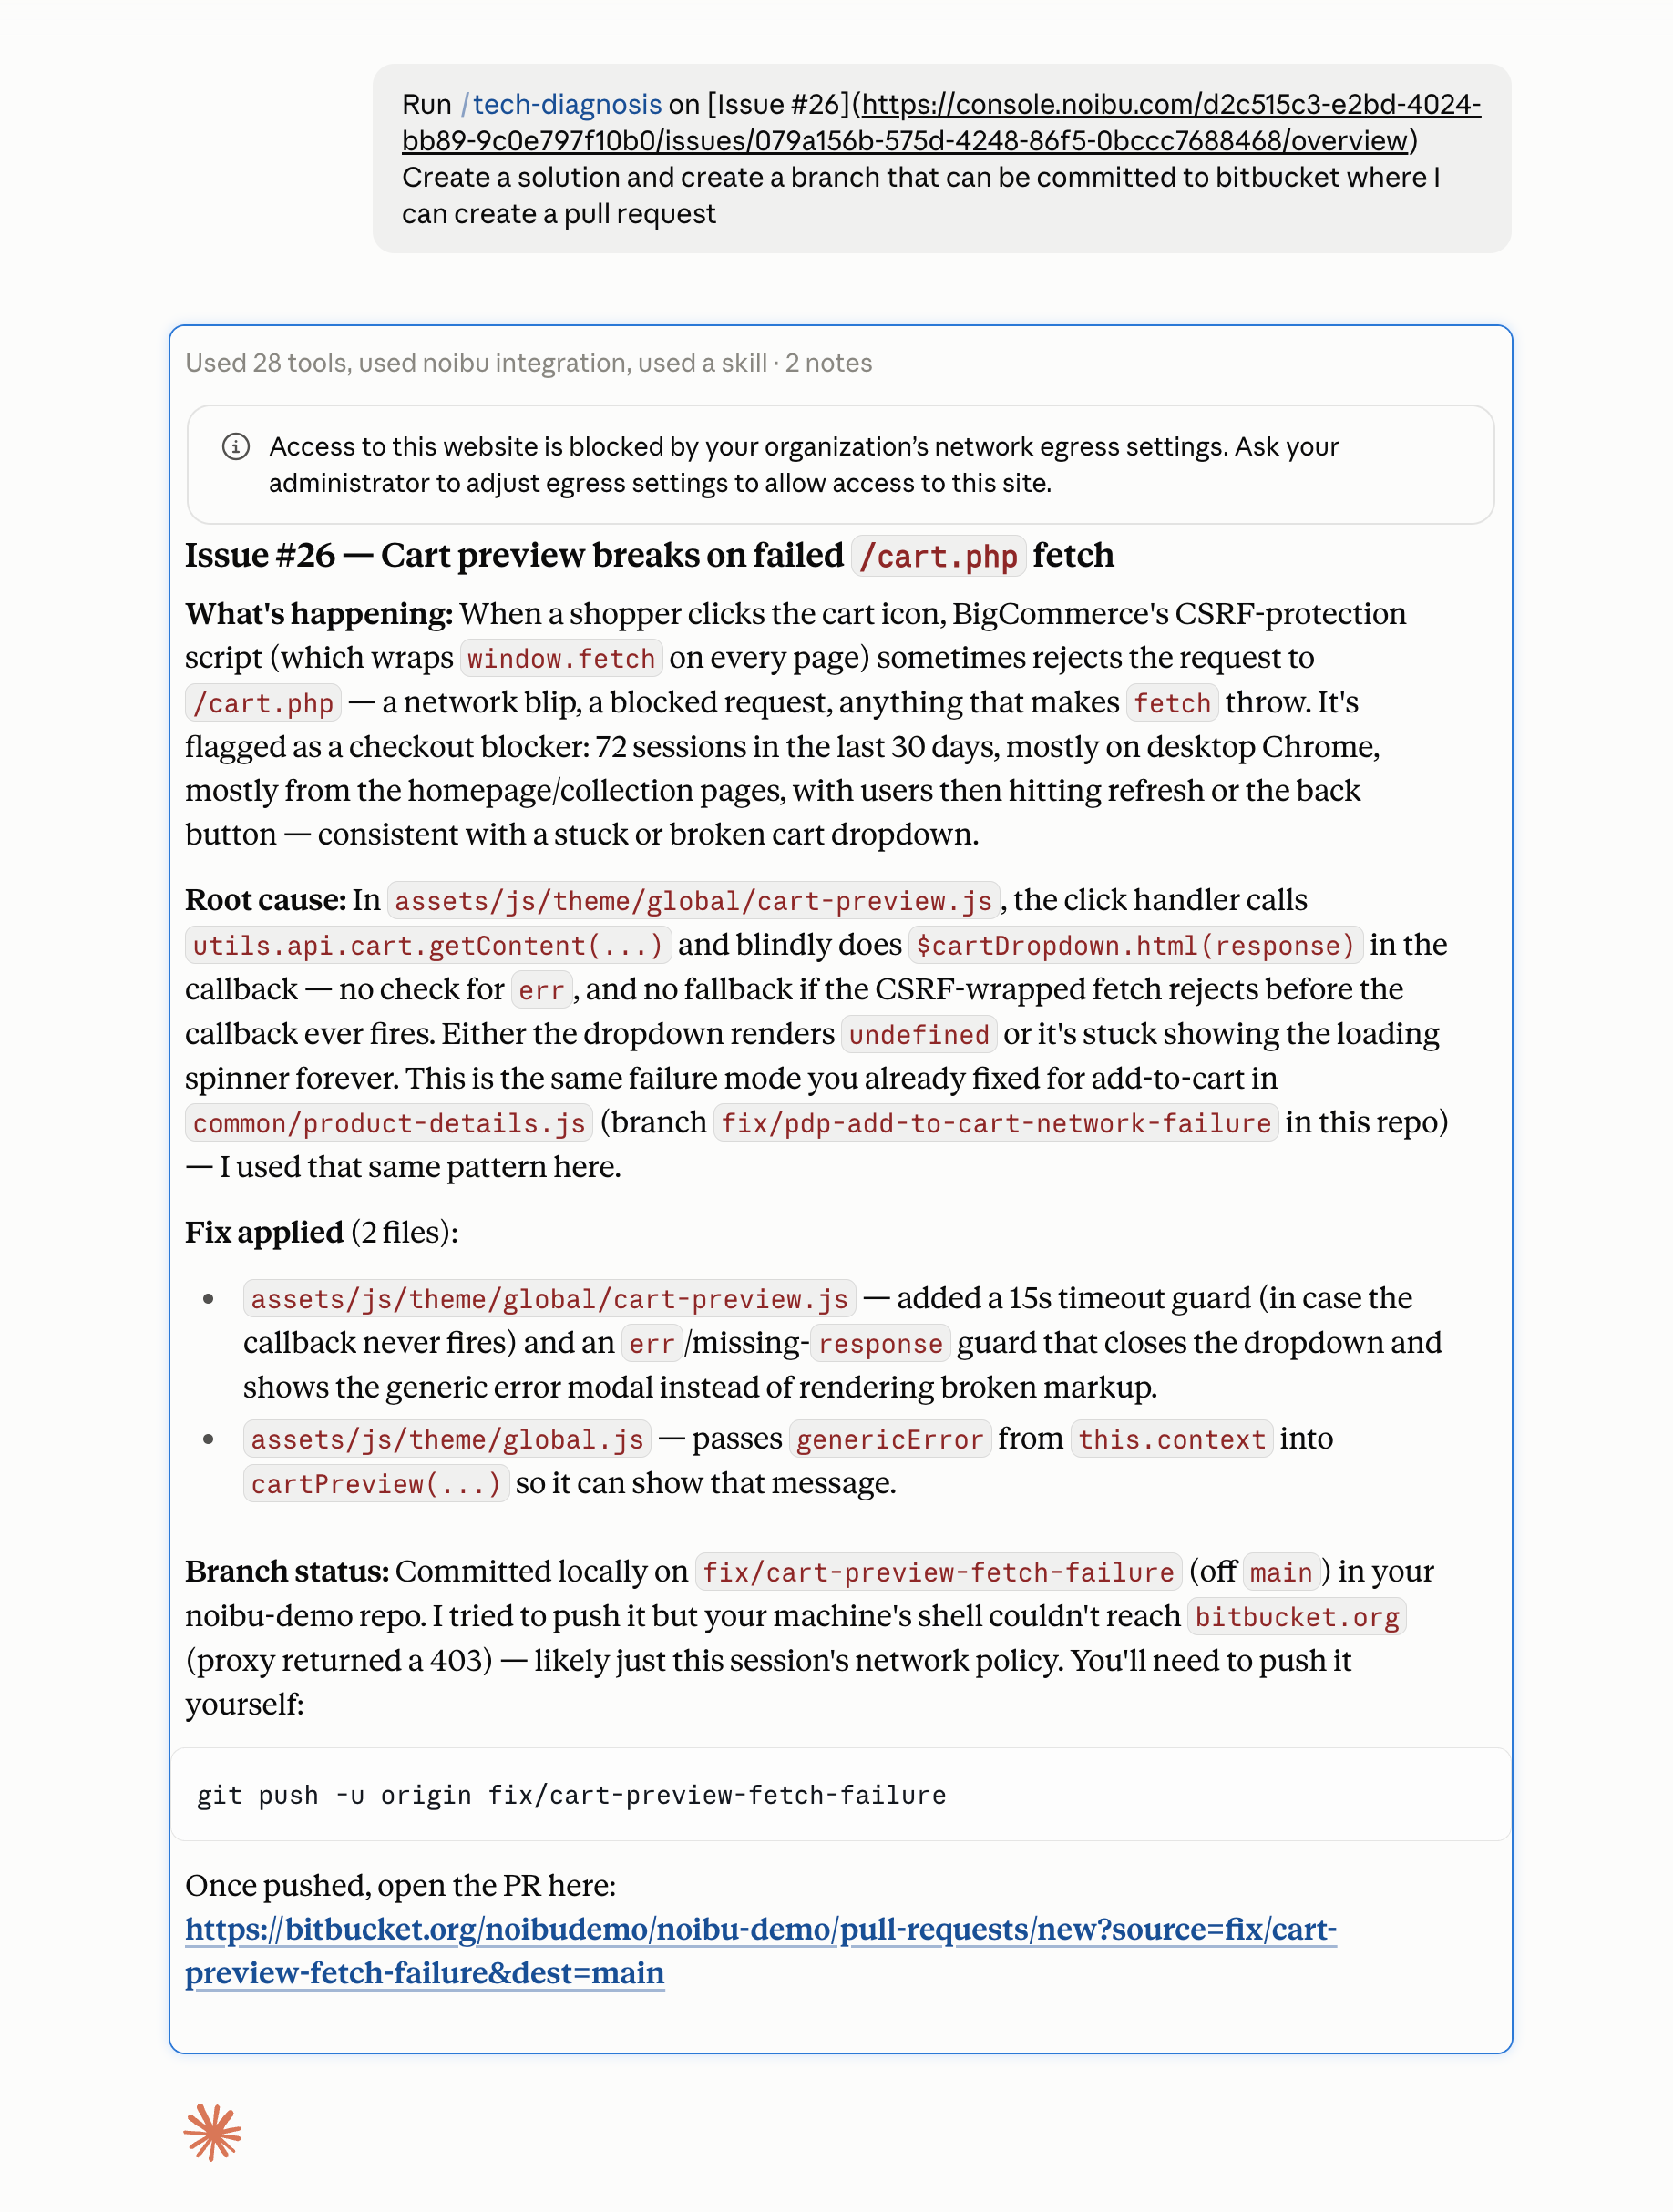
Pushing the branch can need a bit of terminal help — Cowork can't always push directly. Either have Claude Code run the push if it's available, or open a terminal in that folder yourself and paste in the push command Claude gives you.
Once the branch is pushed, create the pull request through the enabled Atlassian connector or Bitbucket's web UI.
Review the diff and tests before approving a push. If Cowork cannot run Git or access your credentials, use your terminal; do not copy secrets into the conversation.
Troubleshooting / gotchas
Atlassian connects, but Bitbucket is missing. Check workspace-to-organization linking, your repository access, the client's available tools and administrator restrictions. Ask the assistant to check for Bitbucket tools specifically; Jira access alone does not prove Bitbucket access. Reauthorize if requested after an approved configuration change.
Read works, but writes fail. Verify that Bitbucket write actions are enabled and that your account has the required repository permissions. Do not bypass branch protection or organizational controls.
Claude Code needs interactive authentication. Run the authentication step yourself in a terminal. Keep credentials out of chat.
Cannot open a PR from Claude, Cowork or ChatGPT. Confirm the source branch exists, the destination is correct and the PR-create action is available. If not, use Bitbucket → Branches → your branch → Create a pull request or an approved REST API integration.
Need to run the application or tests locally. Connecting Atlassian provides supported remote operations; it does not itself set up your project's dependencies or local runtime. Use the local clone workflow.
Connector guidance checked against official documentation on November 2, 2026.