Deploying the Noibu Script with Google Tag Manager
Last updated: March 23, 2026
Before Noibu can collect session data from your eCommerce website, you must insert the Noibu script into your webite's HTML . If you use Google Tag Manager (GTM) as a tag management solution, add Noibu as a new tag and apply the script to all pages.
Note: The Noibu script will fail if your domain service provider blocks web requests from other domains. If you encounter this issue, contact your service provider or development partners to whitelist/allowlist noibu.com.
Log into your Google Tag Manager account and click Add a New Tag.
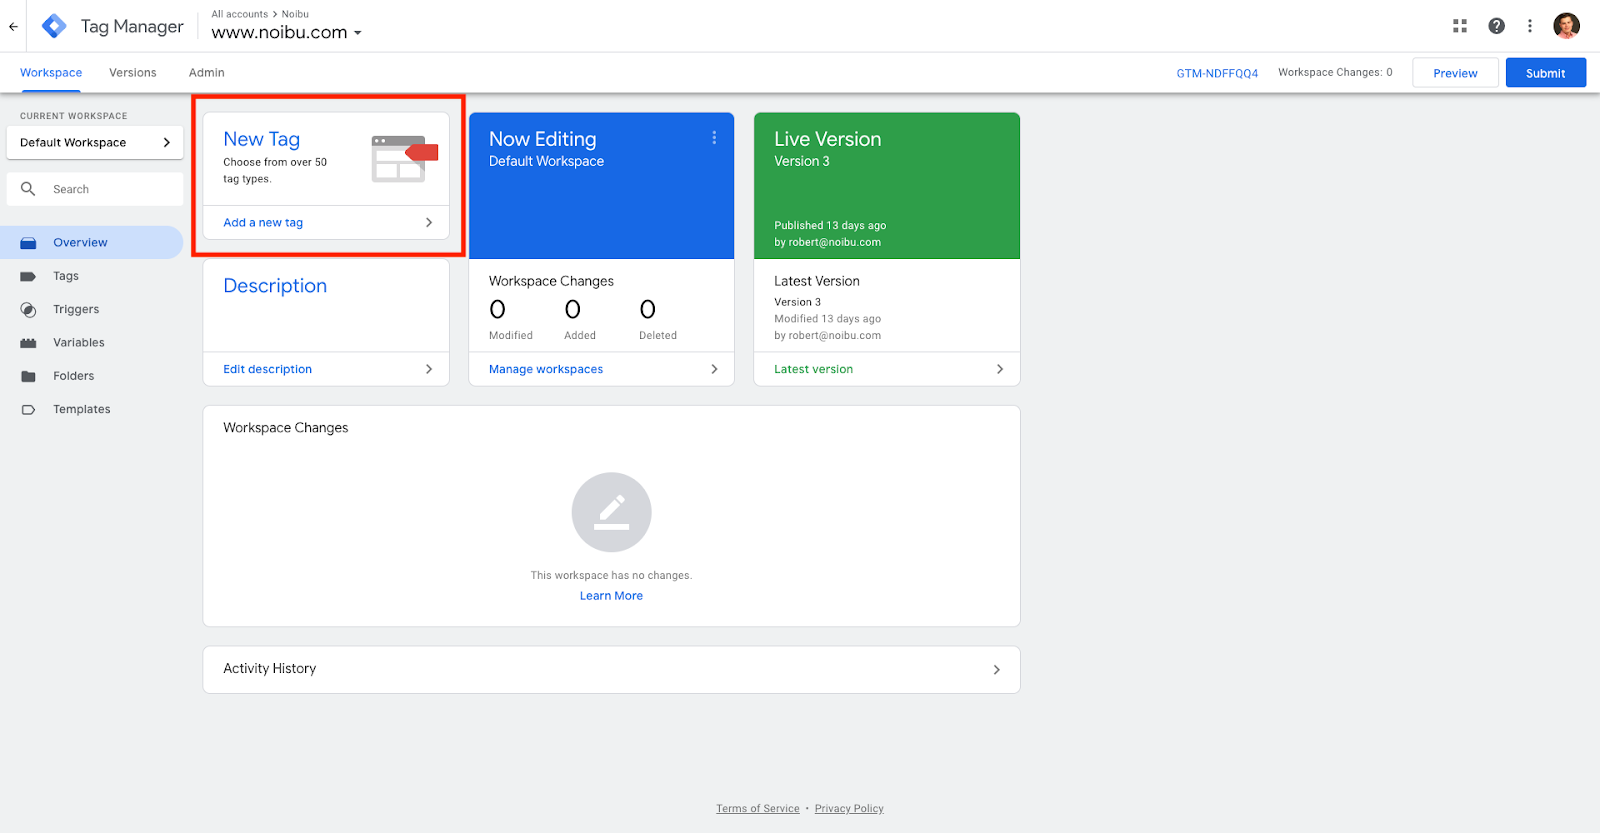
Insert the Noibu script through the Tag Configuration section.
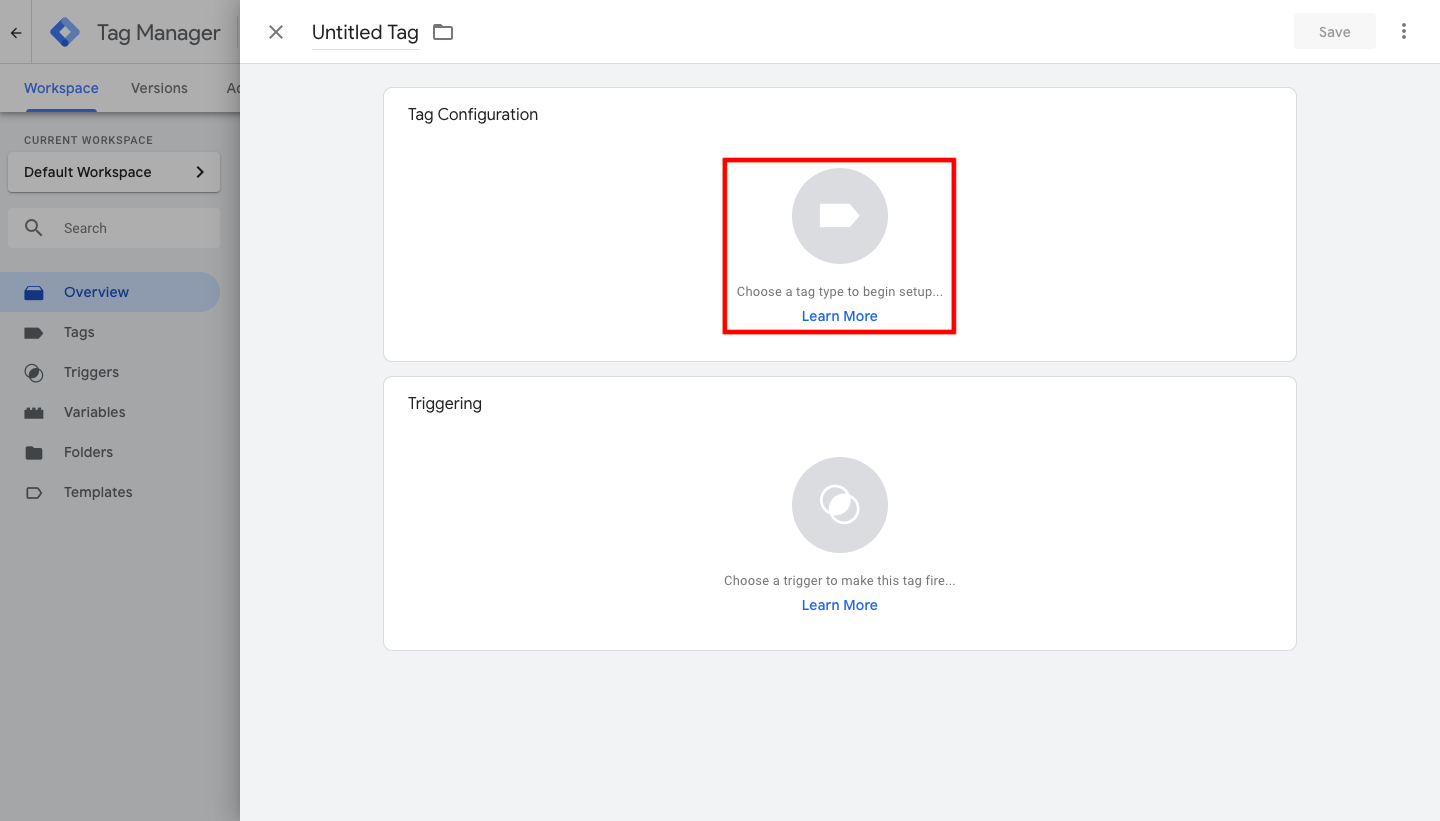
Click Tag Configuration. This opens a menu of options.
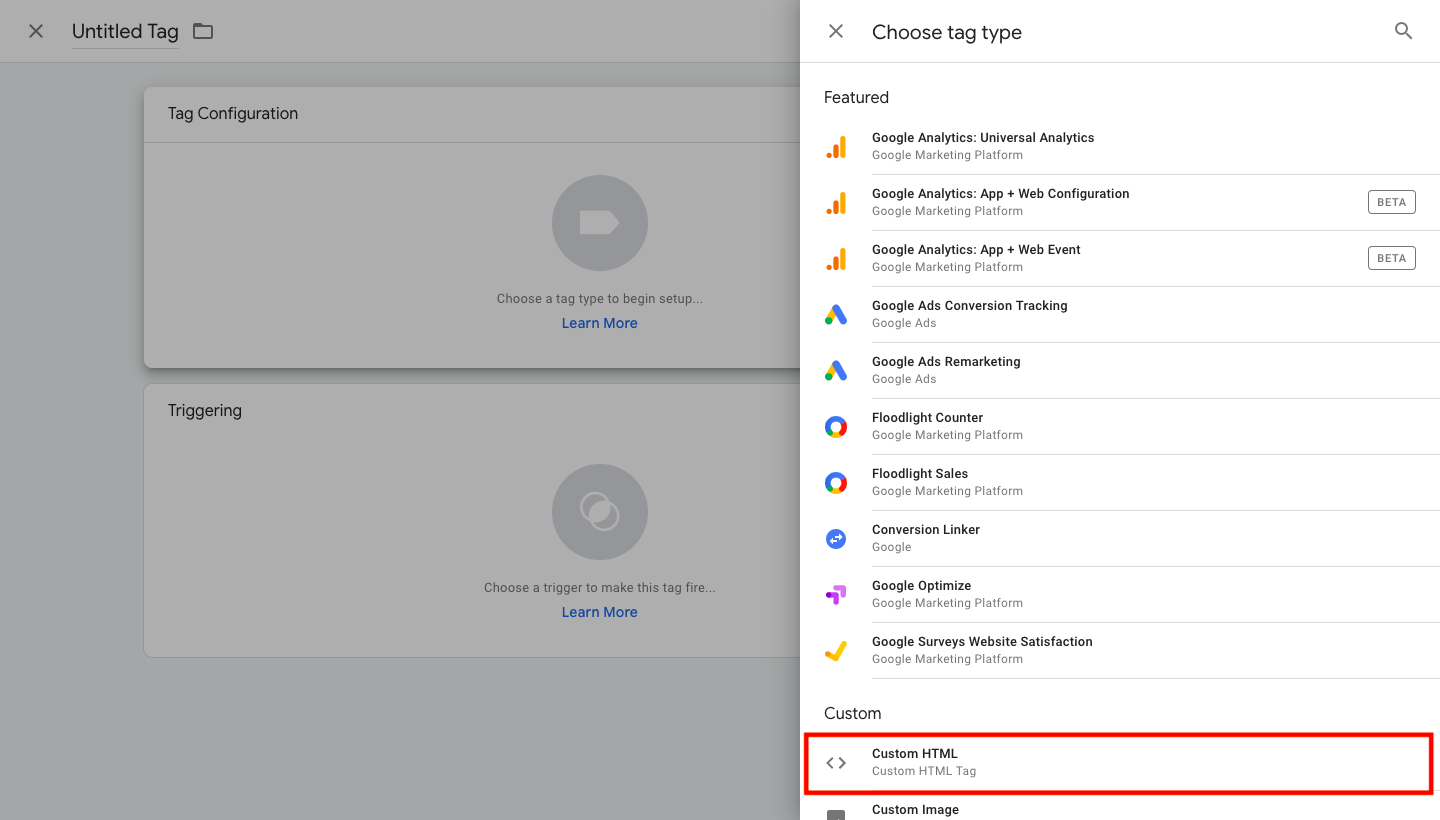
Select Custom HTML. This opens a textbox to configure custom HTML.
Paste the following script into the HTML box and click Save.
<script src="https://cdn.noibu.com/collect-core.js"></script>
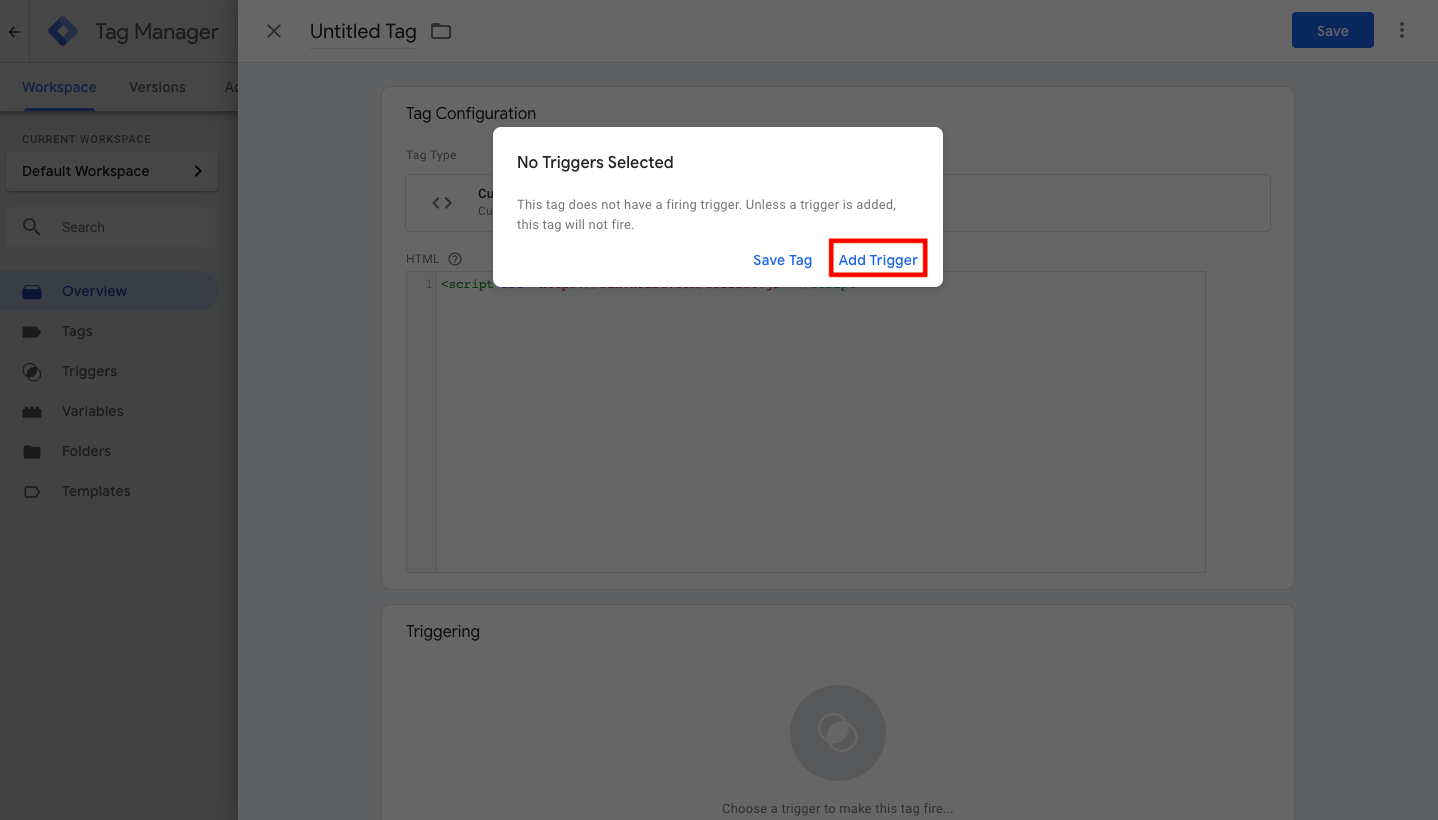
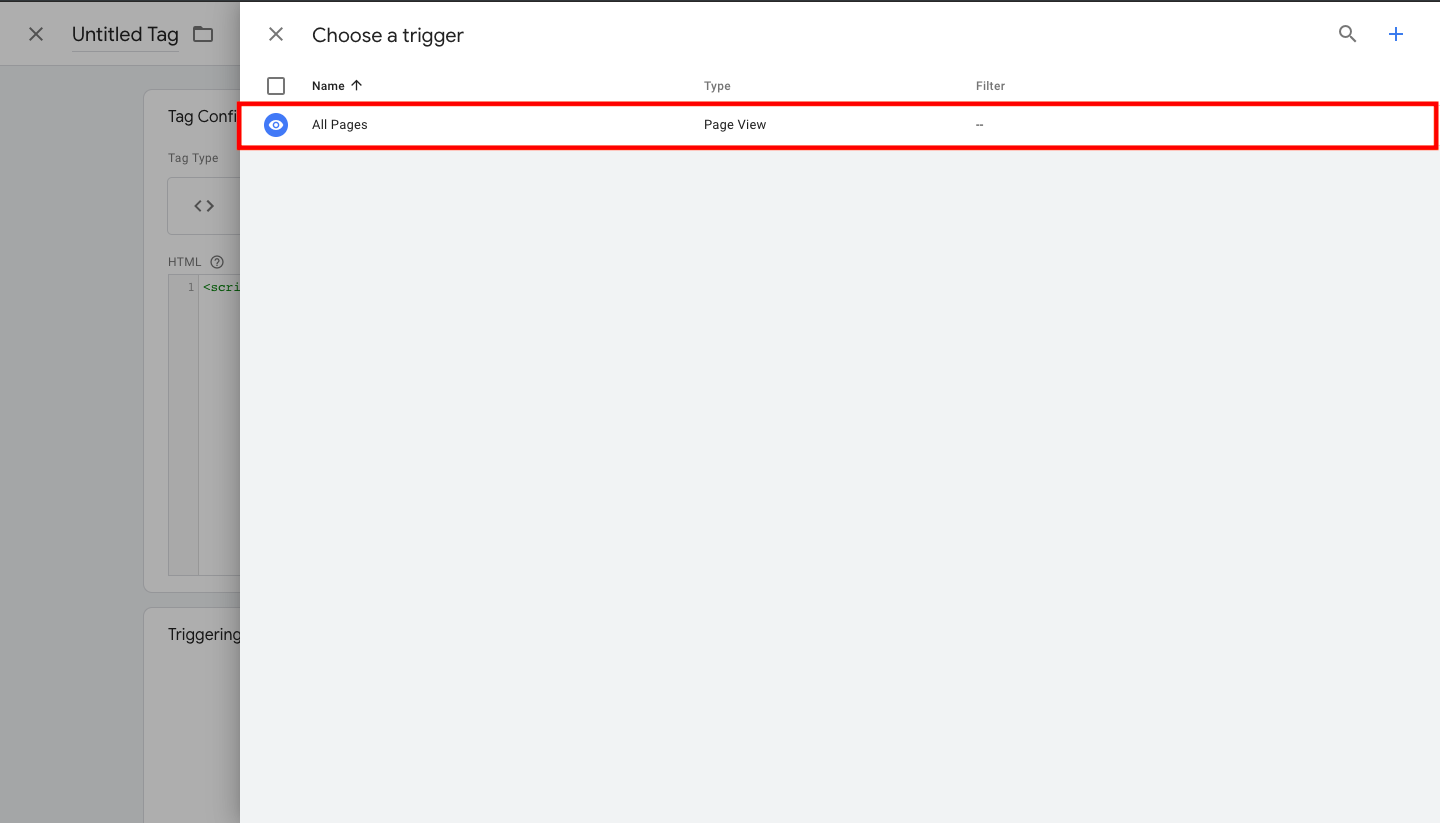
Configure the tag's triggers. This determines how and when the script will activate.
Click Add Trigger.
Select All Pages. This ensures the Noibu script will track activity across all pages of your eCommerce store.
Set the trigger's Type to Initialization or Page View.
Click Save. This summons a modal to name the tag.
Enter a unique name for the tag in the field provided–we recommend simply naming the tag Noibu–and click Save.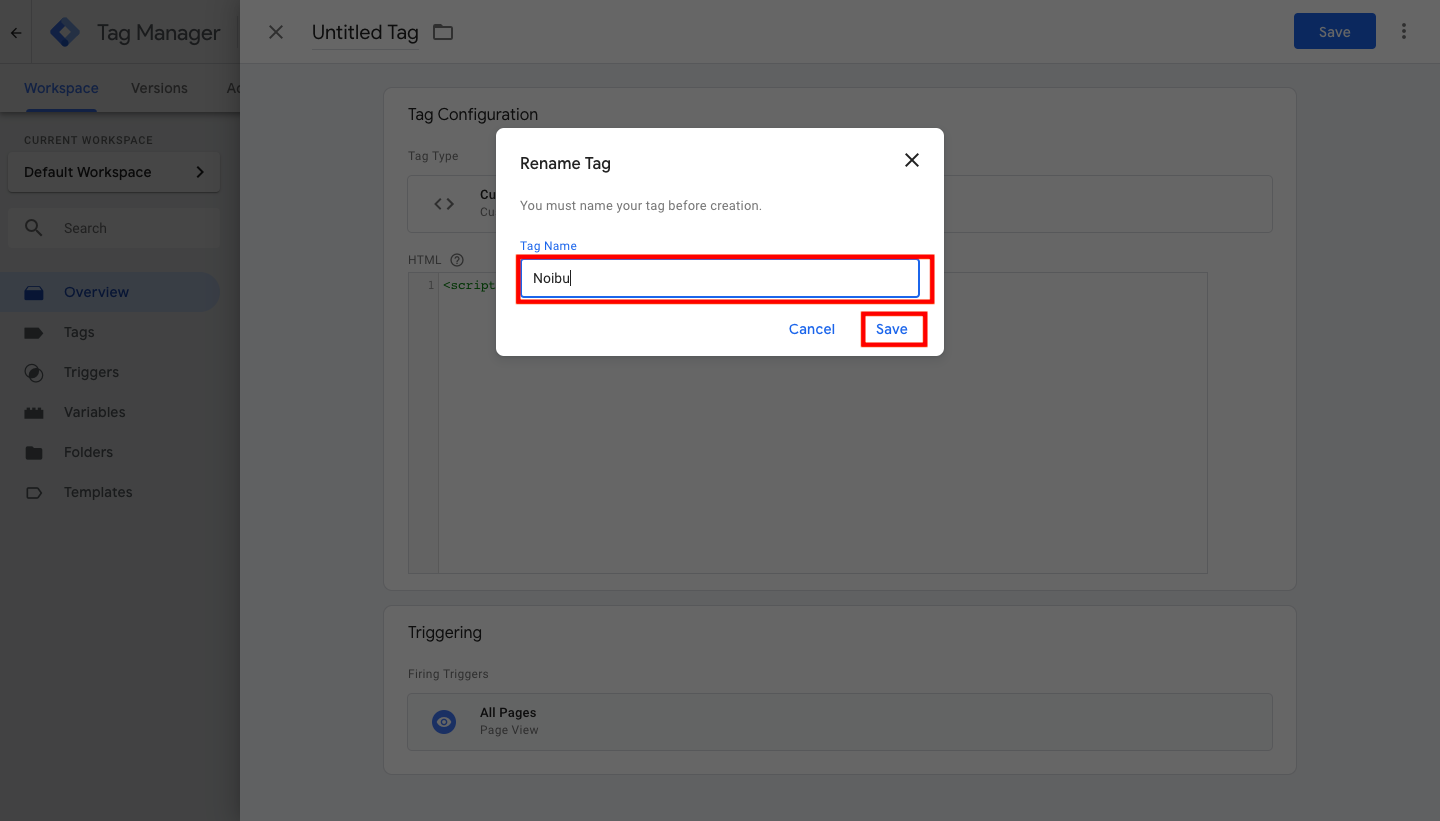
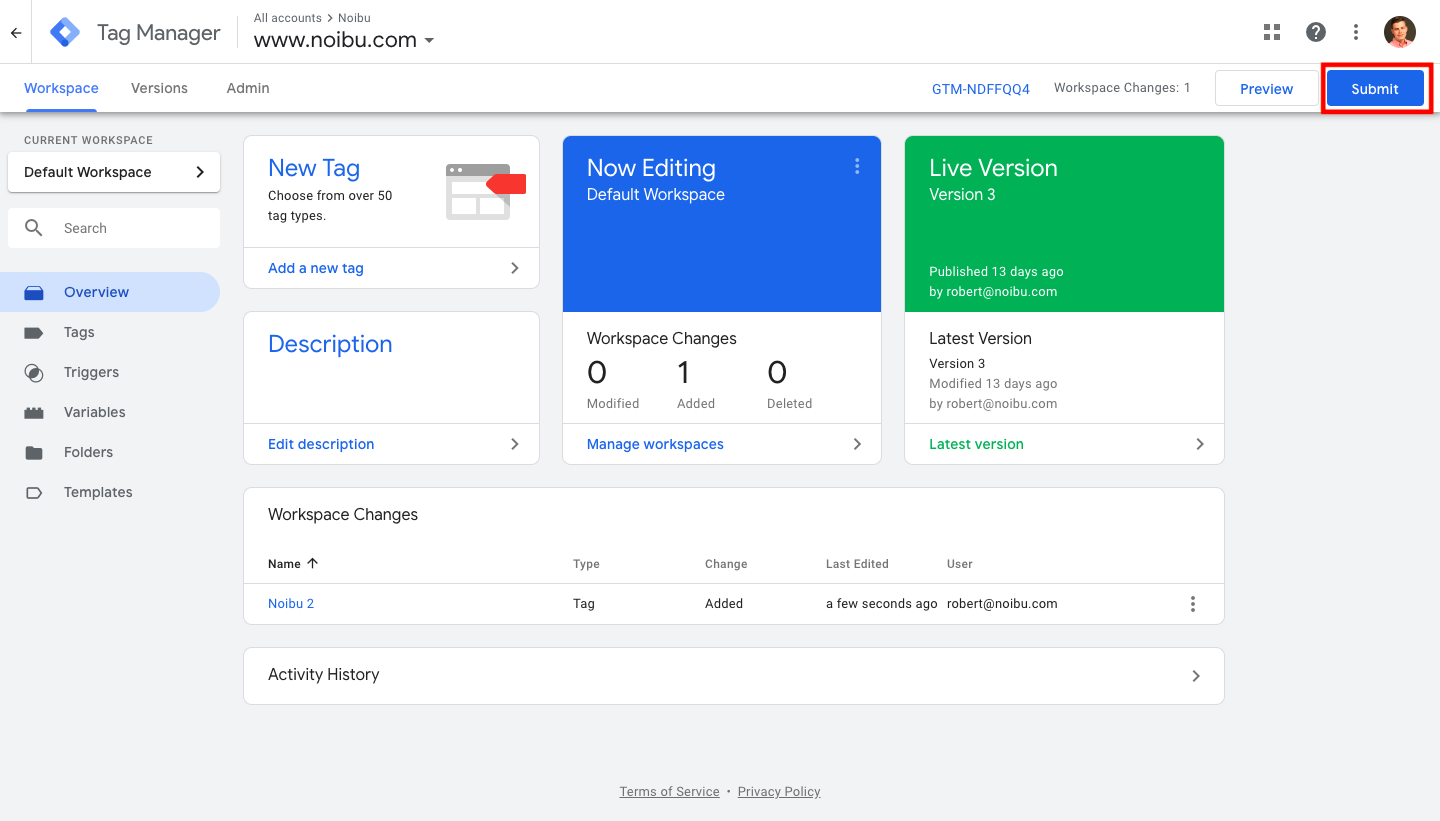
Finalize the tag and publish the changes to your eCommerce site.
Click Submit.
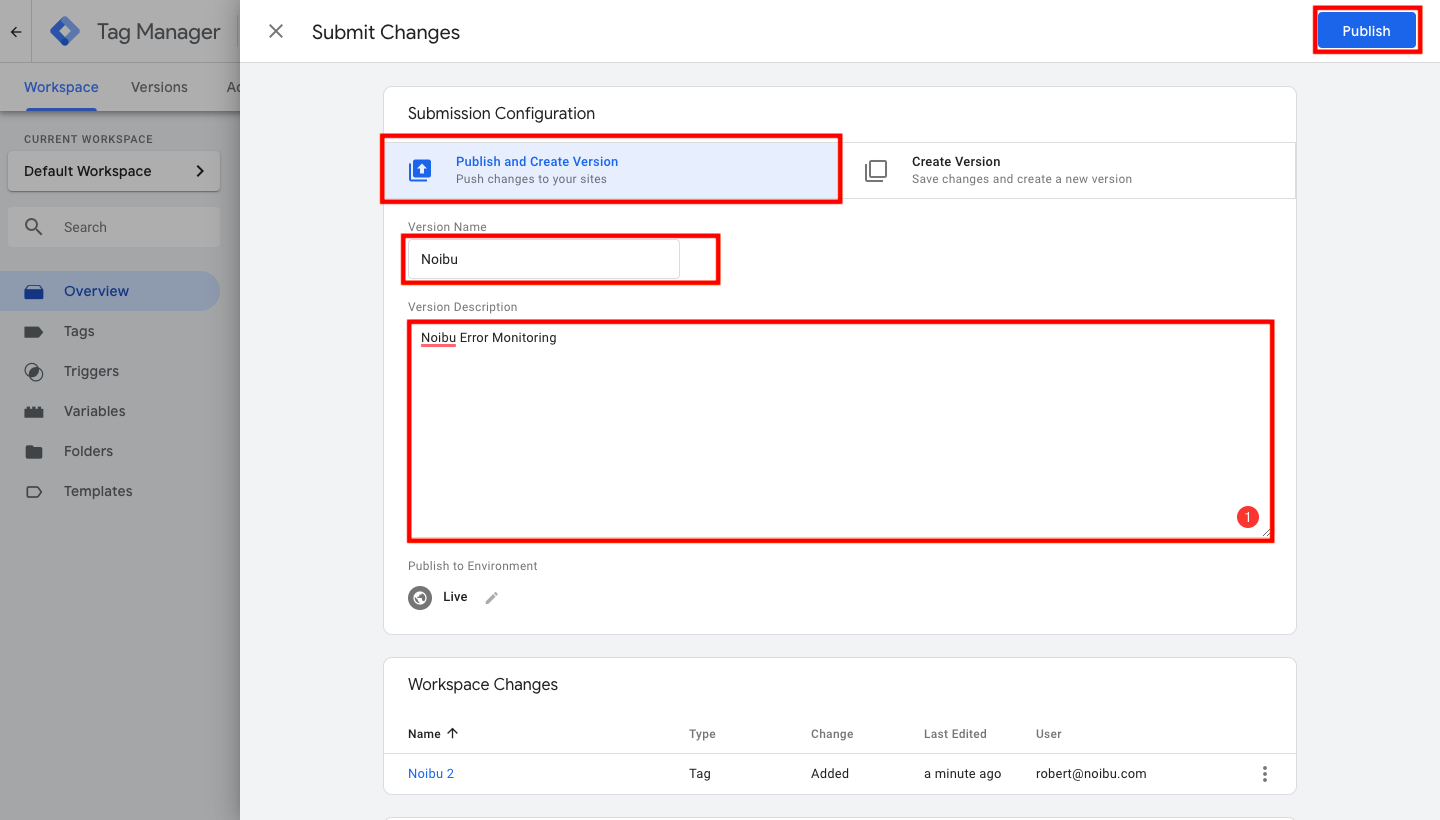
Click Publish and Create Version.
Enter Noibu in the Version Name field.
Enter Noibu Error Monitoring in the Version Description field.
Click Publish.
Whitelisting/Allowlisting Noibu on your CDN
Noibu servers need to access content on your content delivery network (CDN) in order to replay sessions, collect data, accurately track errors, and beautify Stacktraces. Occasionally our servers may be blocked by your CDN's security features, which prevents Noibu from showing sessions and timelines accurately.
You must ensure Noibu's URLs, IP address, and user-agents are whitelisted with your CDN:
URLs |
|
IP Addresses |
|
User Agents |
|
Note: If your company uses a Content Security Policy (CSP), you must whitelist the above URLs, IP Addresses and User Agent in the following source directives, otherwise your CSP will block Noibu’s script from loading:
script-srcconnect-srcworker-src
Configuring Referrer Policy
Adjusting the Referrer Policy on your website is necessary to ensure that Noibu is capturing all session data correctly.
Adjusting the Referrer Policy
Review your current Referrer Policy to determine if the Referer Header is being sent.
You can check this by looking at the network traffic in your browser’s developer tools or by reviewing your site's configuration files.
If needed, update your Referrer Policy to the following:
strict-origin-when-cross-originVerifying the Configuration:
Once the changes are made, verify that the Referer Header is now being sent correctly. It should look like this:
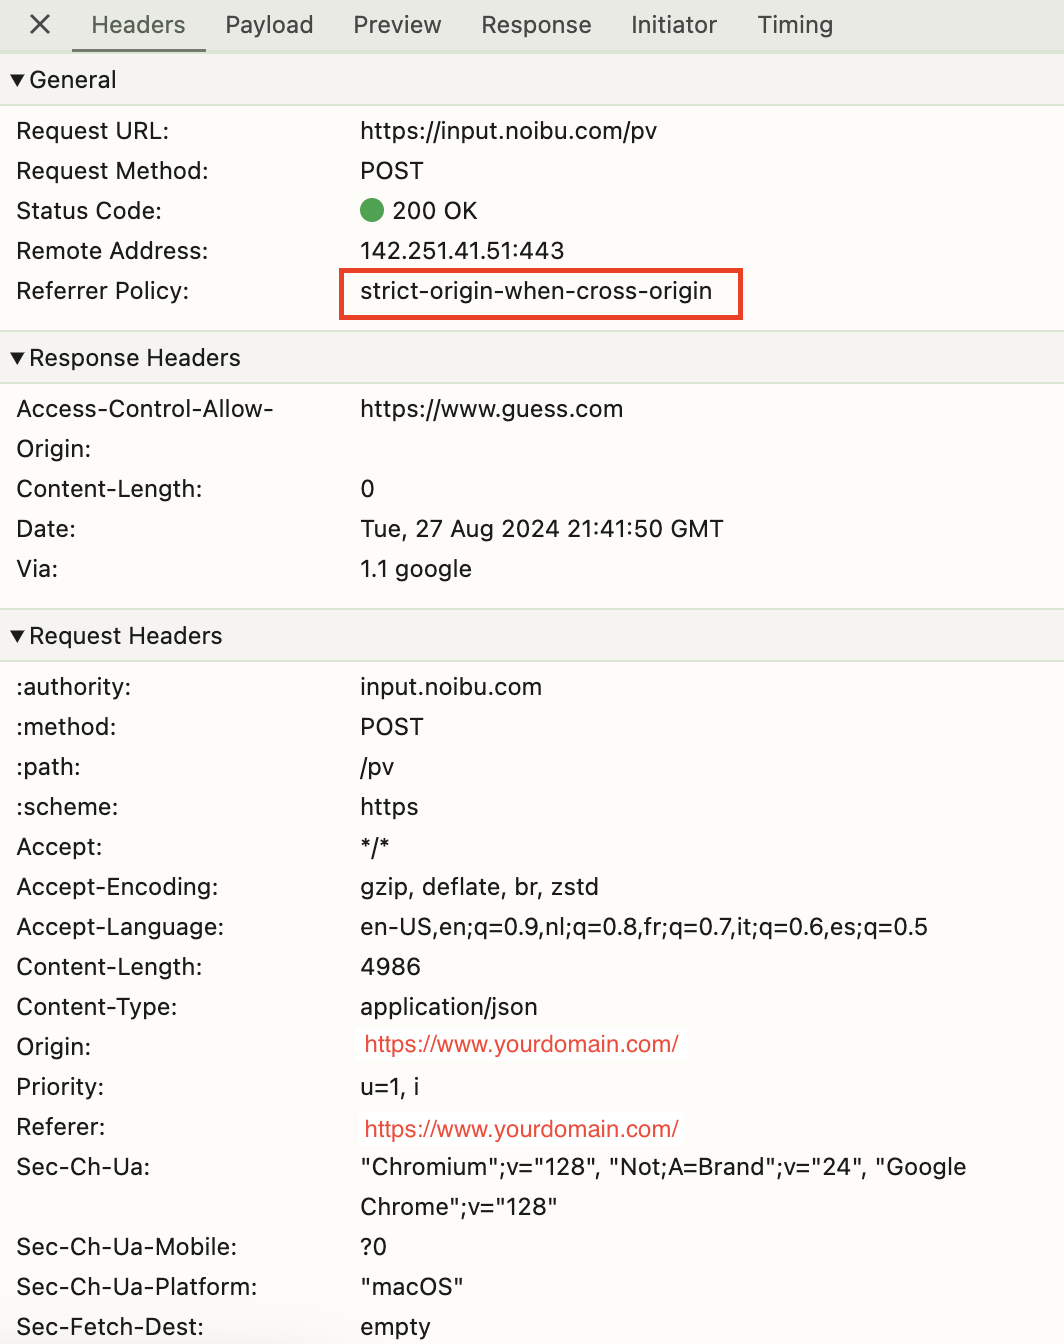
You can use browser developer tools or a network monitoring tool to check the HTTP requests and confirm that the Referer Header is included.
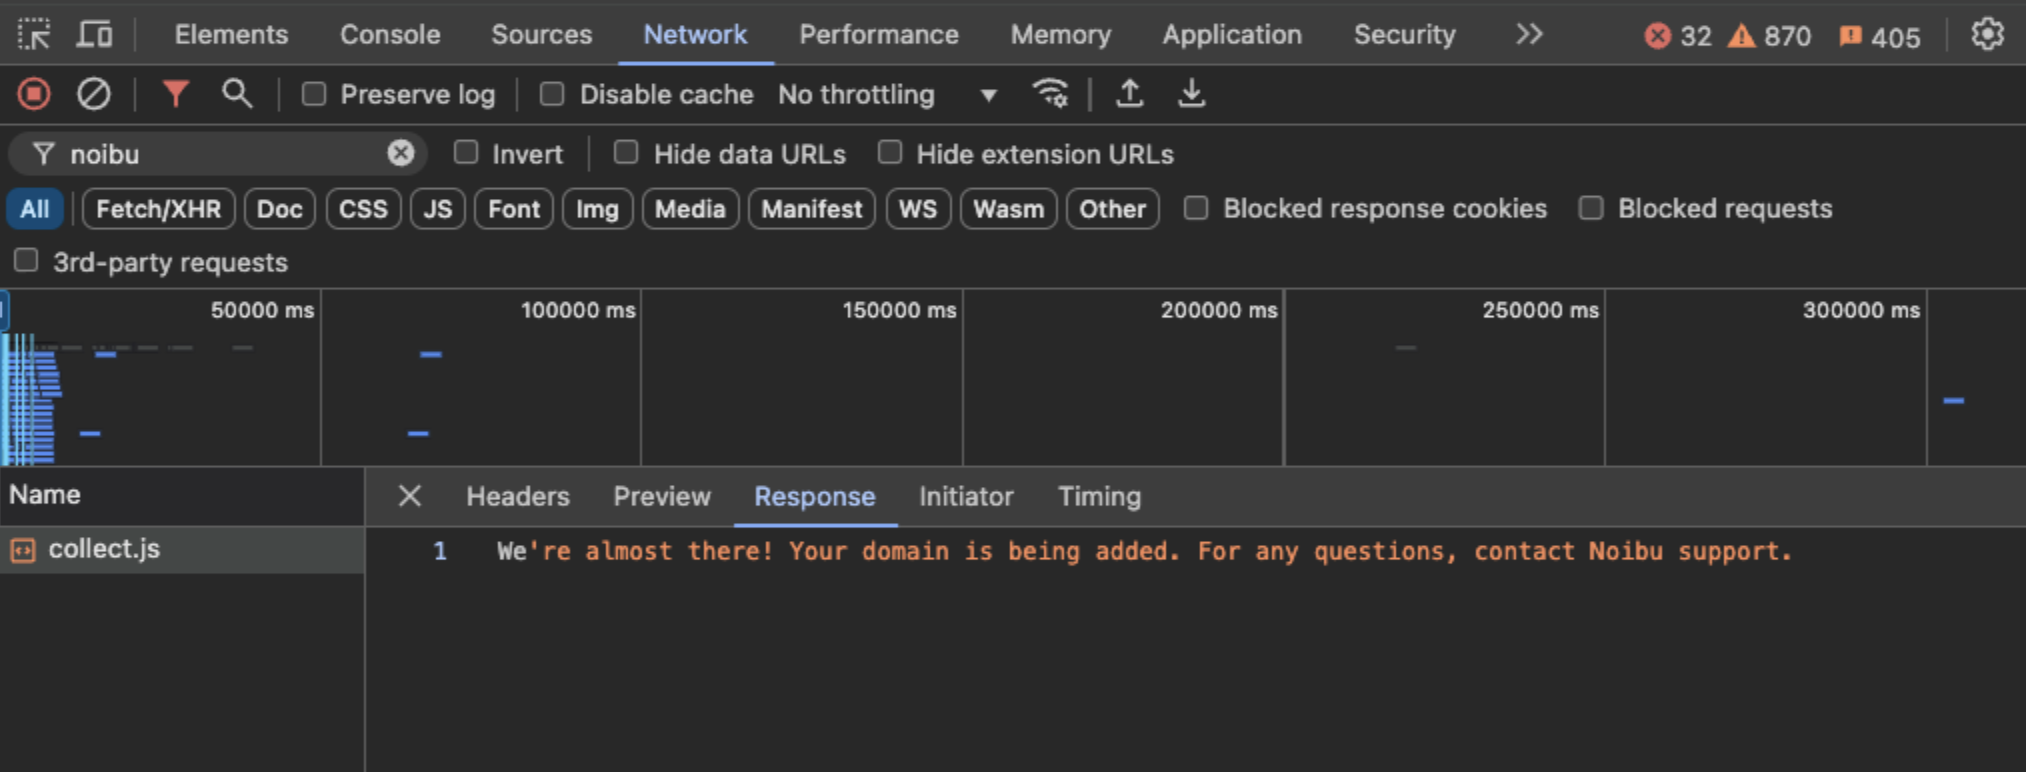
After Script Deployment
After you've deployed the script to your site, Noibu's technical team will finish configuring your domain. During this time, you'll see the following script response: We're almost there! Your domain is being added. For any questions, contact Noibu support.
No further action is needed at this point. Once your domain has been successfully configured on Noibu's end (normally within 24 hours) this response will stop occurring.
Troubleshooting
It is possible that after a successful deployment, the Noibu script is still not successfully collecting errors. Here are some common issues.
Deploying the Noibu Script twice can create potential conflicts. Avoid this by deploying once with the chosen method for your website.
The NoibuJS script is not deployed to the correct place, or the correct page triggers are not utilized. Refer back to the deployment guide for your ecommerce platform or tag manager.
Deploying the Noibu script through another tag manager–like Tealium IQ or Adobe Launch–may follow a different process.
If your store is built on an eCommerce platform like Magento, BigCommerce, or Shopify, there may be alternative deployment options, although headless implementations may still require the addition of Noibu's script via Google Tag manager as indicated above.
Next StepsOnce Noibu has been deployed successfully, visit the Platform Overview to see how Noibu turns these technical events into insights for ecommerce teams. |